Preparing DTF Artwork with Clean Transparent Edges
Check DTF artwork by reopening the exported file on both light and dark backgrounds, then inspecting the edges at the intended print size. Keep intentional white artwork, remove unintended background areas, and ask about details that may be too small or too soft for the selected transfer. A file that looks transparent in one preview can still contain unwanted printed pixels.
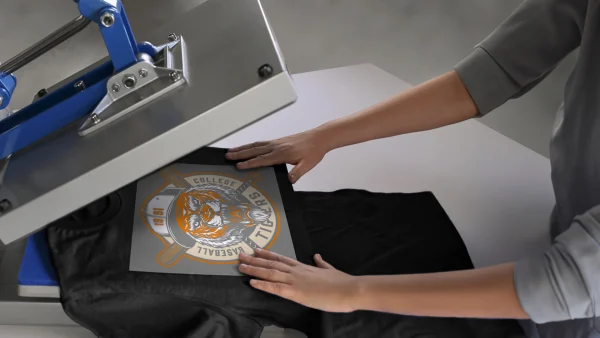
The Get Quick Signs DTF transfer product recommends a transparent-background PNG and describes a white underbase generated from the artwork. That makes the boundary between visible art and transparent space an important part of the file—not just a cosmetic preference in the design application.
Make sure the background is truly transparent
A checkerboard normally indicates transparency in an editor, but a screenshot of that checkerboard is simply an image of colored squares. Reopen the actual exported PNG in an application that displays transparency correctly. Put a temporary solid color behind it and see whether that color shows through the areas meant to remain empty.
Check the export settings as well as the document. Adobe’s Photoshop export documentation lists transparency as an explicit PNG setting. Choosing a PNG filename alone is not a substitute for checking the exported result.
Use a temporary background only for inspection. Remove or hide it before the production export, and label any garment-color preview as a reference. Otherwise the helpful black rectangle you added to simulate a shirt can become part of the submitted artwork.
Separate intentional white from accidental white
A white letter, highlight or outline can be essential to a design. Deleting every white pixel is therefore a poor cleanup method. Check whether each light area belongs to the logo or came from the original image’s rectangular background.
Look inside enclosed letter shapes, between illustrations and around thin lines. Background-removal tools may miss isolated pockets or trim too much from pale artwork. Compare the cleaned version with the original so you do not solve the background problem by erasing part of the intended design.
Inspect on more than one background color. A pale fringe may disappear against white and become obvious against navy. Conversely, a dark edge can disappear on black. The inspection background helps you see the exported edge; it is not a prediction of every garment’s final printed appearance.
Decide which small details are worth keeping
Zoom in to find stray dots, fragments and uneven cutouts, then return to actual print size. Some details look impressive at a high zoom but become visually insignificant when the logo is small. Others, such as a fine gap in a letter, are important to recognition and should not be casually removed.
Do not assume a universal minimum line thickness or dot size. Ask what the current transfer process supports, particularly for isolated dots, fine script, distressed textures and small reversed lettering. If the design needs simplification, keep a separate small-format version instead of overwriting the original master artwork.
Soft shadows and partially transparent fades need a deliberate decision too. Confirm how they will be handled with the underbase and intended garment. Do not replace all partially transparent edge pixels with hard edges merely to make the file look cleaner; that can visibly change the design.
Check the actual artwork dimensions
As a worked example, artwork 3000 pixels wide provides 300 pixels per inch when printed 10 inches wide. At 8 inches wide it provides 375 PPI; at 20 inches wide it provides 150 PPI. The same file has not gained or lost original detail—the chosen physical size changes how densely the pixels are printed.
Large empty margins can make that calculation misleading if the visible logo occupies only part of the canvas. Check the dimensions of the artwork itself and confirm whether the order builder measures the entire file or the visible design. Review the product-specific resolution requirements instead of applying a generic minimum from another print process.
Submit a clean file and a useful reference
Keep the editable source, final transparent export and a separate appearance reference together. Give the production file a clear name with its intended width and revision. If you are ordering multiple designs, identify the quantity and size of each rather than relying on their apparent scale in a collage.
Before ordering, send any uncertain edges or fine details for confirmation. Include the intended garment color and finished artwork size. Press temperature, pressure and peel instructions should come from the specific transfer supplied; they are a separate decision from preparing a clean transparent file.