Fall Festival Wayfinding: Separate Arrival, Check-In and Pickup Signs
Plan fall festival wayfinding around the decisions guests make in sequence: where to arrive, where to check in and where to collect an order or meet their group afterward. Give each decision its own clear message. A single sign containing the whole festival schedule is unlikely to answer the right question at the right point.
Start with the venue’s agreed layout and operating plan. Mark permitted arrival points, pedestrian routes, information areas and pickup locations. Your sign plan should support that arrangement, with the venue confirming placement and any access requirements before installation.
Walk each route as a first-time visitor
Approach from every entrance guests will actually use. Stop where a person must choose between two directions. Ask what they can see from that position, including parked vehicles, booths, foliage and crowds that may obscure a sign during the event.
Record each decision as a location code on a simple map. Describe the instruction needed there, such as “Festival Check-In, right” or “Order Pickup, straight ahead.” This becomes a production list with a purpose for every sign.
Do a separate walk for the return route. An arrow that works on the way in may be hidden or point the wrong way for someone leaving. Do not assume visitors remember every turn they made while arriving.
Use different messages for different jobs
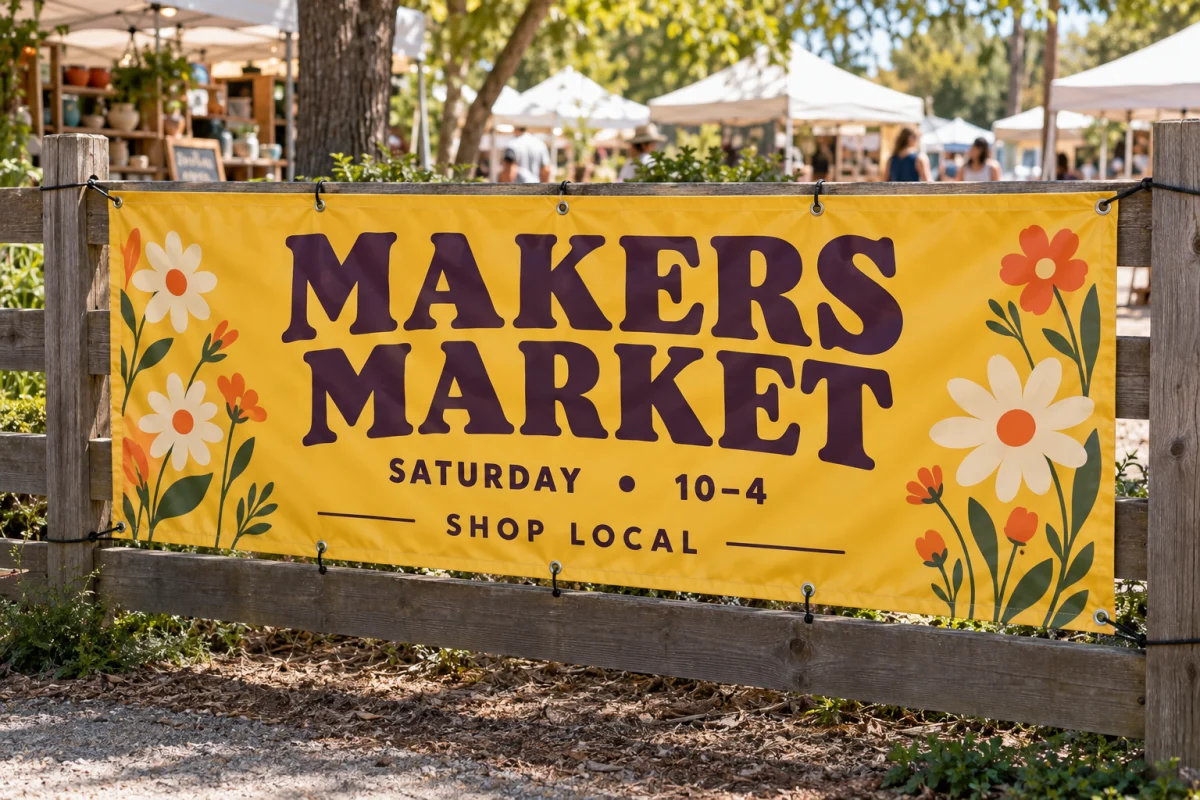
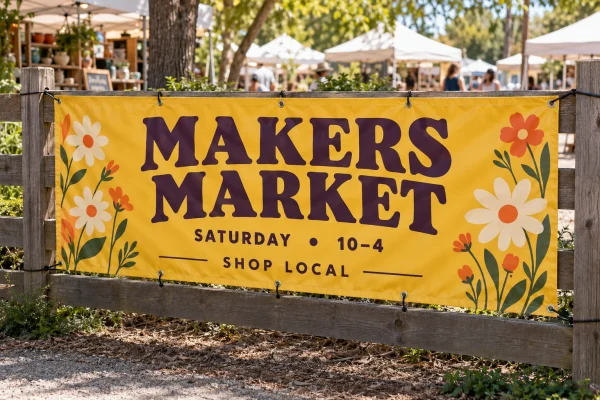
Arrival signs identify the event or the permitted entry point. They should help a newcomer recognize that they have reached the correct place. A broad welcome banner can establish the festival identity without carrying detailed instructions.
Check-in signs explain where the next action happens. If there are separate lines for ticket holders and on-site registration, name them clearly and match the wording used by staff. Avoid informal nicknames that guests have not seen before.
Pickup signs should identify what is being collected. “Preordered Pumpkin Pickup” is more informative than “Pickup.” If the event has a supervised child pickup process, follow the organizer’s established procedure; a printed sign does not create that procedure or replace trained staff.
Worked example: map placements to artwork versions
Imagine a fictional festival with two permitted pedestrian entrances. The plan calls for one arrival sign at each entrance, three directional signs along the routes, one check-in identifier and two signs for preorder pickup.
The placement count is 2 + 3 + 1 + 2 = 8 signs. But the artwork count depends on their messages and arrows. If the three directional signs require two right arrows and one left arrow, that group needs at least two distinct directional versions.
Write the eight placements into a list and assign each an artwork code. This example is not a recommended minimum for a festival; the actual count comes from your route. More entrances, obstructed views or separate activities can create additional decision points.
Make arrows and destinations work together
Place the destination wording and arrow where they are clearly associated. Keep the arrow visible without letting it overwhelm the word that tells people what they are following. Check the whole design from the intended approach, not only head-on in an editor.
If printing two sides, review each side’s arrow orientation separately. Do not automatically copy one side onto the other: a left arrow seen from the opposite approach may send someone to the wrong location.
The corrugated sign product offers single-sided and double-sided printing. Choose based on the actual viewing directions and confirm the selected material, finishing and compatible mounting for the venue.
Keep the information layer separate
Put activity schedules, detailed maps and longer explanations at an information point where people can stop and read. A directional sign’s job is narrower. Avoid shrinking an entire program onto the same panel as an essential turn instruction.
You can build consistent arrow and destination layouts in Sign Designer. Keep an editable copy of each direction, then check the filenames against the placement list before ordering.
Test before guests arrive
Ask someone unfamiliar with the plan to follow the route using the proposed signs. Note where they hesitate and adjust wording or placement. Check that signs do not obstruct paths, venue instructions or emergency information, and have the organizer confirm the final arrangement.
Assign someone to inspect placement during the event and remove temporary signs afterward. If you need help translating the approved route into products and quantities, share the location list and planned display conditions before ordering.