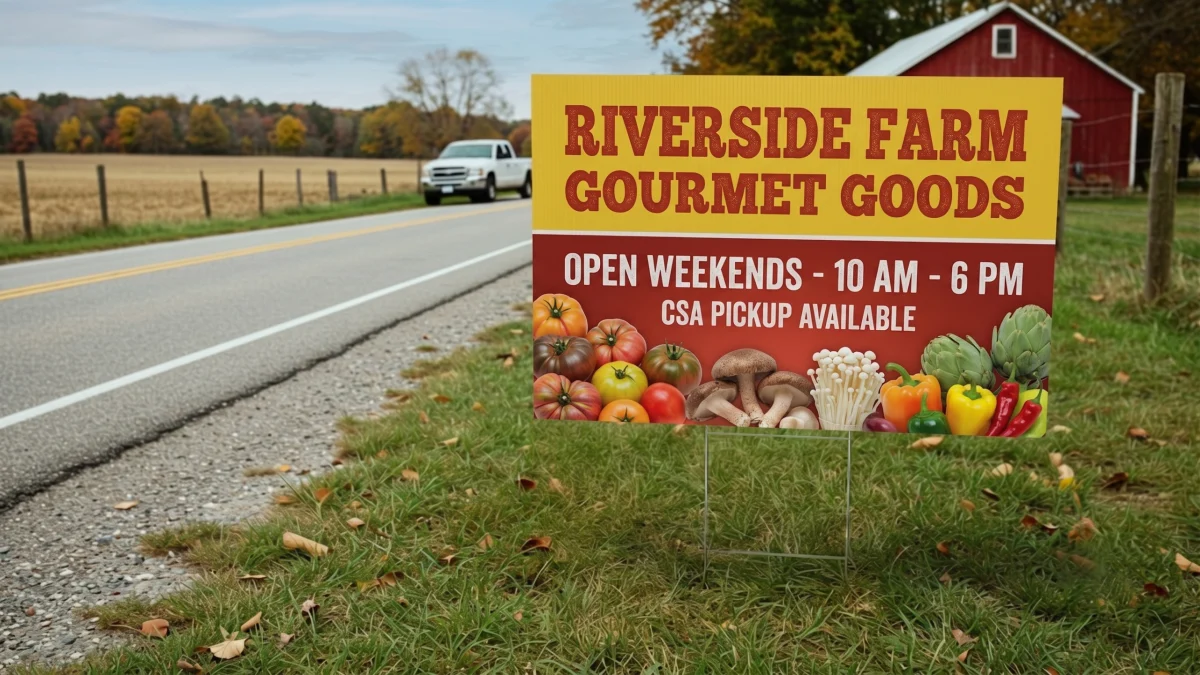
Bleed, Trim and Safe Area Explained for Large Format Printing
Bleed is artwork extended past the finished edge so a small cutting variance never leaves a white sliver. Trim is the finished size, the line the blade is aiming for. Safe area is the inset zone where all your text and logos must sit so nothing important gets cut off, folded into a hem, or punched through by a grommet. For large format, 0.25 inches of bleed is the working standard, 1 inch of safe area is the working minimum, and hemmed banners need 1 to 2 inches of bleed because the artwork has to wrap around the fold.
Key takeaways
- Bleed protects against cutting variance. Safe area protects against finishing. They are different problems.
- 0.25 inches of bleed on every side is the practical standard for large format, more than the 0.125 inches used in small format print.
- Hemmed banners need 1 to 2 inches of bleed so colour continues around the folded edge.
- Keep all text and logos at least 1 inch inside the trim line, and further from any grommet position.
- Grommets sit in the hem, roughly 0.5 to 1 inch in from the edge, and they punch straight through whatever is there.
- Build the document at trim size and add bleed as a document setting rather than drawing a larger page.
How much bleed and safe area does each product need?
| Product | Bleed per side | Safe area inset | Why |
|---|---|---|---|
| Yard sign, coroplast | 0.25 in | 1 in | Guillotine variance and stake slot position |
| Rigid panel, PVC or aluminum | 0.25 in | 1 in | Router variance, plus mounting hole positions |
| Hemmed banner | 1 to 2 in | 2 in | Artwork must wrap around the folded hem |
| Banner with grommets | 1 to 2 in | 2 in | Eyelets punch through the hem area |
| Banner with pole pockets | Pocket depth plus 1 in | Pocket depth plus 2 in | The whole pocket is folded out of sight |
| Adhesive decal, contour cut | 0.125 in | 0.25 in | Blade tolerance around the cut path |
| Poster, trimmed edge | 0.125 in | 0.25 in | Clean guillotine cut, tighter tolerance |
Why does large format need more bleed than a business card?
Because the tolerances scale with the machine and the material. A 0.125 inch bleed is fine on a guillotine trimming a stack of small sheets. A 10 foot banner is cut on a roll that can wander slightly, and vinyl has enough stretch that a long cut is never perfectly true. Wide format specialists describe bleed as insurance against exactly this kind of cutting variance, and 0.25 inches per side is the figure most large format shops publish for banners and rigid signs.
The consequence of getting it wrong is a thin white line down one edge of an otherwise perfect sign, which is impossible to fix after the fact and painfully visible on a dark design.
Why do hemmed banners need so much more?
Because a hem folds material out of sight. When the edge is folded over and welded, one to two inches of your artwork disappears around the back. If the artwork stops at the trim line, the fold pulls unprinted white vinyl into view along the front edge.
Banner file setup guides recommend 1 to 2 inches of bleed for hemmed edges so the colour carries around the fold. Pole pockets are the extreme case: the entire pocket depth, commonly 3 inches of flat measure, is folded away, so anything printed there is gone. Design as if the pocket area does not exist. We cover the finishing options themselves in how to hang a banner.
What actually belongs in the safe area?
Everything the customer needs to read. Text, logos, phone numbers, URLs, QR codes and any hard edged graphic element that would look broken if it were clipped. Background colours, photographic textures and abstract patterns can run to the bleed line freely, because nobody notices if a gradient loses a quarter inch.
Two extra constraints apply on rigid signs. Mounting holes and standoff positions punch through the panel, so keep copy clear of them. And on coroplast yard signs the stake slides up inside the flutes at the bottom of the sign, which is a good reason to keep the lower band of the design free of critical detail. Our artwork guidelines list the exact figures per product, and the standoff installation guide covers hole positions.
What does it cost to get bleed wrong?
The full price of the job, twice. There is no salvage operation for a sign that has been trimmed through its own logo, and no way to add a quarter inch of missing background to a printed banner. A 3×8 foot 13oz banner is 45.12 dollars in material, and a run of 40 18×24 coroplast yard signs is 330.00 dollars in material across 5 sheets. Reprinting either because the file lacked bleed is a completely avoidable loss.
The reason it happens so often is that bleed errors are invisible on screen. Artwork that stops exactly at the document edge looks perfect in every preview and only fails at the moment of cutting. That is why the check has to be procedural rather than visual: before you send anything, confirm the document has a bleed setting applied, confirm the background extends into it, and confirm every piece of type sits inside the safe guides. Three checks, thirty seconds, and they eliminate the single most common cause of reprints in large format.
How should I set this up in my file?
Build the document at trim size, not at bleed size. Every professional layout application has a bleed setting that extends the artboard outwards, and exporting with bleed marks tells the printer exactly where trim sits. Drawing a larger page and hoping the printer guesses the trim line is how signs come back cropped in the wrong place.
Then add guides at your safe area inset and treat them as walls. If a design will not fit inside them, the design is too tight for the finished size, not the safe area that is too generous. Getting the file right first time is the same discipline covered in preparing your logo file and vector versus raster for sign artwork.
Frequently asked questions
How much bleed do I need for a banner?
0.25 inches for a simple trimmed edge, and 1 to 2 inches if the banner is hemmed, because the fold takes artwork out of view.
What is the difference between bleed and safe area?
Bleed is artwork outside the trim line, protecting against cutting variance. Safe area is the inset zone inside the trim line where all important content must sit.
Will my grommets cut through my logo?
They will if the logo is near the edge. Grommets sit in the hem, typically 0.5 to 1 inch in, so keep logos at least 2 inches inside the trim on a grommeted banner.
Do yard signs need bleed?
Yes, 0.25 inches per side. Sheets are cut in stacks and a small variance is normal, so a background that stops at trim can leave a white edge.
Can I just make my artwork slightly bigger instead?
No, because then nobody knows where the trim line is. Use a proper bleed setting so the trim size and the bleed are both explicit in the file.
Set your file up correctly
Check the per product figures in the artwork guidelines, build the layout in the sign designer, or price a job on the banner builder and in the shop.