How to Measure Storefront Windows for Printed Graphics
Measure storefront windows one pane at a time, label each pane on a photograph, and record the glass area separately from the surrounding frame. A single measurement across the storefront is rarely enough to order correctly sized graphics. The printer also needs to know which side you will apply the film to, where people will read it, and which parts of the window must remain clear.
Make a simple window map first
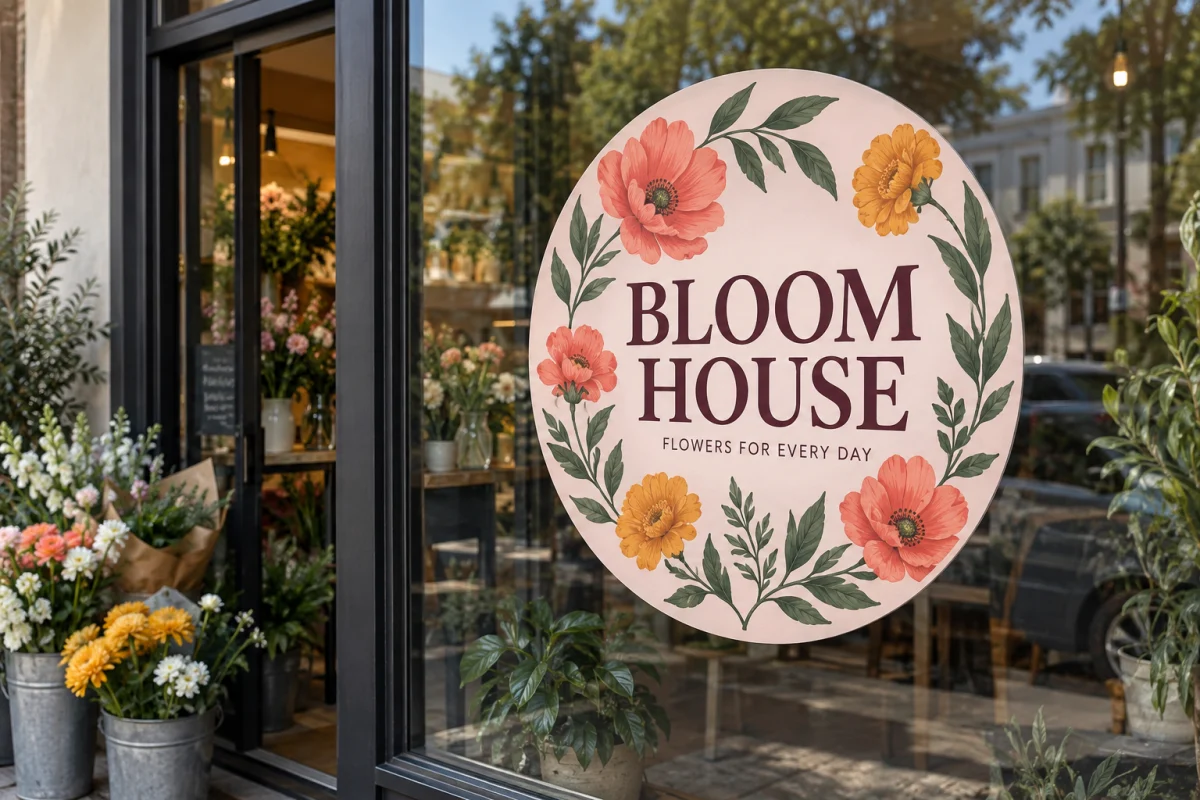
Stand outside and take a straight-on photograph showing the entire storefront. Label the panes A, B, C and so on from that viewing position. Include doors and narrow side panels even if they will not receive graphics. Keeping the same labels on your photograph, measurements and artwork prevents the left-hand design from arriving sized for the right-hand pane.
Add a short note defining your viewpoint: “Pane labels are shown from outside, facing the store.” Without that sentence, a second person measuring from inside can reverse the sequence. Take another photograph from inside when the frames or obstructions differ on that side.
Record glass, frames and obstacles separately
For each pane, measure width near the top, middle and bottom, then height near the left, center and right. Write down the actual results instead of averaging them into a tidy number. Differences may reveal an uneven opening, a measuring error or a frame that needs closer attention. Have the installer confirm the finished graphic dimensions before ordering.
Record these details alongside the measurements:
- The visible glass opening and any accessible glass hidden behind trim.
- Handles, locks, hinges, sensors, existing decals and other obstructions.
- Whether the pane opens, slides or stays fixed.
- The intended application side and intended reading side.
- Areas that the property manager or installer requires to remain uncovered.
Do not subtract a standard edge gap by habit. The correct finished size depends on the film, frame, installation method and site requirements. Likewise, measurements of accessible glass are not instructions to bridge a frame joint with one continuous graphic.
A three-pane example
Here is a hypothetical measurement schedule for two fixed panes and a door. These dimensions describe proposed graphic coverage after the installer has confirmed the fit; they are not universal trimming allowances.
| Label | Location | Graphic width × height | Area |
|---|---|---|---|
| A | Left fixed pane | 30 × 60 inches | 12.5 square feet |
| B | Door glass | 24 × 60 inches | 10 square feet |
| C | Right fixed pane | 30 × 60 inches | 12.5 square feet |
The total coverage is 35 square feet: (30 × 60 + 24 × 60 + 30 × 60) ÷ 144. That is a planning calculation, not a quote. Product minimums, rounding, finishing, print sides and installation can affect the order. More importantly, the schedule identifies three separate pieces with two distinct widths.
Match the artwork to the viewing direction
A design read through glass needs its production orientation handled correctly. Supply normal-reading reference artwork and clearly label the intended view; do not mirror files unless the chosen workflow specifically requests it. Get Quick Signs offers DualView graphics with one-view and double-view options, so the number of views belongs in the measurement brief.
If an image spans several panes, show the complete visual concept and a separate pane map. Place faces, logos and essential words away from mullions where possible. Ask how the installer wants panel files divided. A frame crossing the middle of a phone number is a layout problem even when every measurement is correct.
Send one complete measurement packet
Keep the labeled photograph, dimension schedule and artwork together. Name files consistently, such as “A-left-window-front,” and include the revision date. If you are still comparing a temporary message with an adhesive installation, use the window cling options to start that conversation without changing your pane labels.
Before purchasing, read the schedule aloud against the storefront photograph: pane, width, height, quantity, application side and reading direction. Send any uncertain measurements or unusual glass conditions through the project contact form so the final order follows confirmed dimensions rather than an assumption.