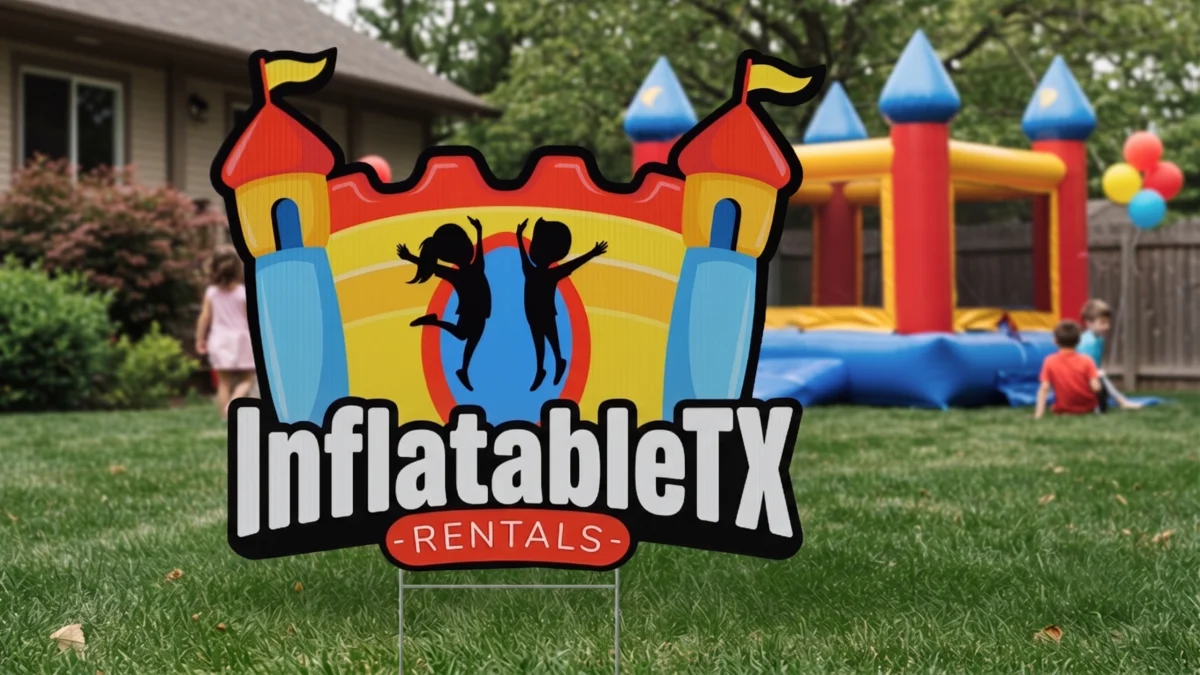
From Artwork to Cut Shape: Plan a Contour Sign Before You Upload
Plan a contour sign by deciding what the finished physical piece should be before tracing the artwork. A cut line is the boundary of the material you will receive. It does not have to follow every tiny hair, sparkle or decorative stroke in the printed image.

Begin with three decisions: one connected sign or several pieces, the desired finished dimensions, and how it will be displayed. Those choices should guide the outline. They are harder to resolve after you have already built a complicated cut file.
Draw the backing shape you actually want
Imagine the artwork printed on a blank board. Which parts of that board must remain to hold the design together? A character’s tail, a script word’s dot and a floating star may look connected visually while being separate islands in a traced outline.
One option is a shared backing shape around the entire design. Another is several intentional pieces, each with a suitable display plan. Do not leave that decision to an automatic trace. Mark isolated details explicitly and ask whether they should remain printed on a common background or become separate cut objects.
Keep the silhouette recognizable when viewed as a solid shape. If a tiny notch contributes little to recognition, simplify it. A smooth outline around a detailed illustration can preserve the visual character while making the physical piece easier to handle.
Inspect narrow connections and inside corners
Look closely where a narrow arm joins a larger shape, where script lettering connects, and where a deep inward corner creates a thin strip of material. A line that looks substantial while zoomed in may be much smaller at finished size.
There is no universal safe connection width for every material, thickness, cutting method and mounting arrangement. Ask about the selected product rather than borrowing a number from another project. Rounded transitions can make a design less abrupt, but they do not by themselves establish that a piece is suitable for its intended use.
Also identify any inside opening you expect to be removed. A dark printed circle is not automatically a hole. Show the intended opening separately and confirm whether that operation is offered for your configuration.
Worked example: visible artwork and finished size
Suppose a fictional round logo should appear 18 inches wide inside a 20-inch circular sign, centered on the same point. The radial border is (20 − 18) ÷ 2 = 1 inch. If you reduce the finished circle to 19 inches while retaining the 18-inch logo, that border becomes 0.5 inch.
Those calculations describe two concentric circles only. An irregular logo may project farther in one direction, and a rectangular source image can contain empty margins around the visible artwork. Measuring the image canvas therefore may not tell you the actual visible logo width.
Check the extreme edges of the painted design against the proposed cut. State both measurements in your notes: “20-inch finished circle; approximately 18-inch visible logo.” This is a planning example, not a recommended border or drilling clearance.
Keep the printed edge intentional
Decide whether the sign should have a visible white border or artwork running to the edge. A white border belongs inside the finished cut. Bleed is extra artwork beyond that cut, used by the production workflow. Mixing up the two can leave an unexpected ring or trim away a desired border.
In CutFile Studio, review the cut line and bleed separately and keep the PRINT, CUT and proof files together. The tool’s instructions distinguish the review proof from production artwork. Use the current settings for your chosen product, since canvas modes and mounting options are product dependent.
If you start in Sign Designer, keep an editable source before moving into cut preparation. That makes it easier to revise the underlying artwork if the cut review reveals a fragile connection or an unwanted background.
Plan how the piece will be supported
Show where stakes, standoffs or other proposed supports would sit, then confirm compatibility. A hole can interrupt a word or land too near a narrow portion of the outline. Available drilling controls do not mean hardware is included or that every position is suitable.
Before ordering, review the full perimeter, the intended piece count and the finished dimensions together. Save the editable project as well as the exported files. For a difficult outline, send the artwork and intended mounting description through the contact page so the remaining production questions are clear.